Last updated: February 29, 2024
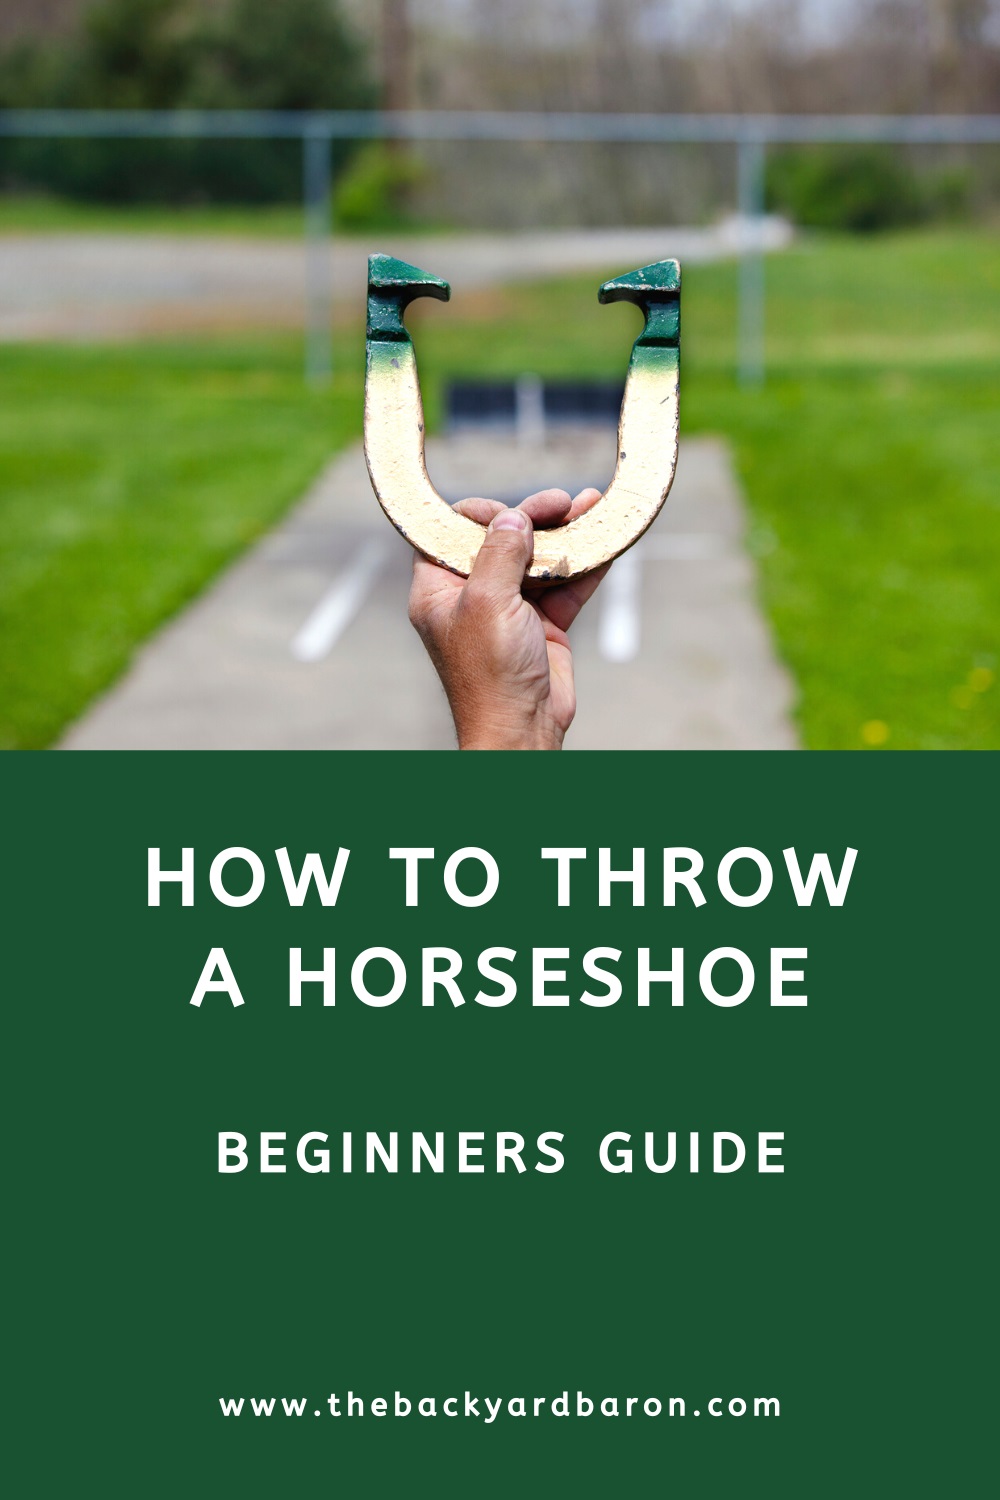
A beginner’s guide to pitching a horseshoe, covering the different grips and techniques needed to master the horseshoes game.
Despite sounding like a game out of its time, horseshoes is quite popular throughout the USA. And it sounds so easy to do, too. Just pick up a horseshoe, throw it at a post, and hopefully, it will hit or hook around a stake.
All you need is a steady arm and a decent aim, right? Well, there is a lot more to it than just that.
Like any throwing game, there are techniques for throwing a horseshoe you should understand and practice if you want to become good at it. And that’s what we’re going to discuss in this guide.
Beginner’s Guide to Pitching a Horseshoe
Throwing a horseshoe properly is all about grip, stance, swing, throw, and follow-through.
Like a baseball pitcher, each one of these aspects affects how the horseshoe flies through the air, and the result of the perfect throw is having that horseshoe encircling the stake.
To explain the perfect horseshoe-throwing technique, I am going to discuss the following:
- Horseshoe grips
- The stance
- The swing
- The throw
- Follow through
Let’s start with the most common horseshoe grips.
1. Horseshoe Grips
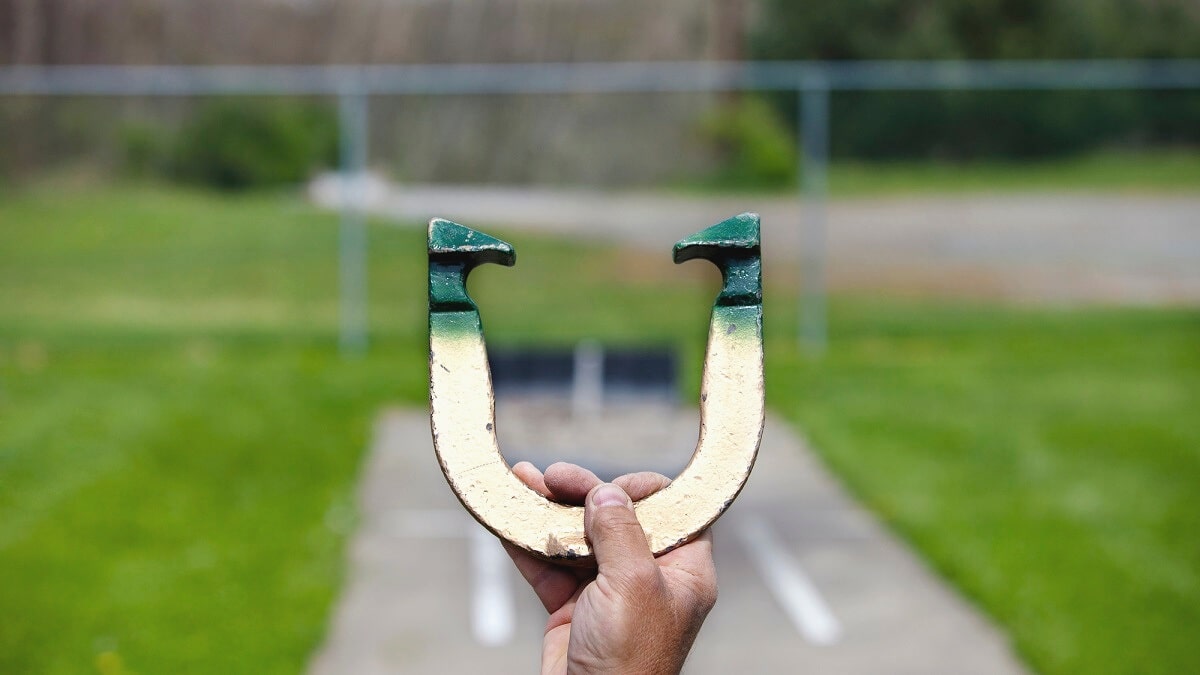
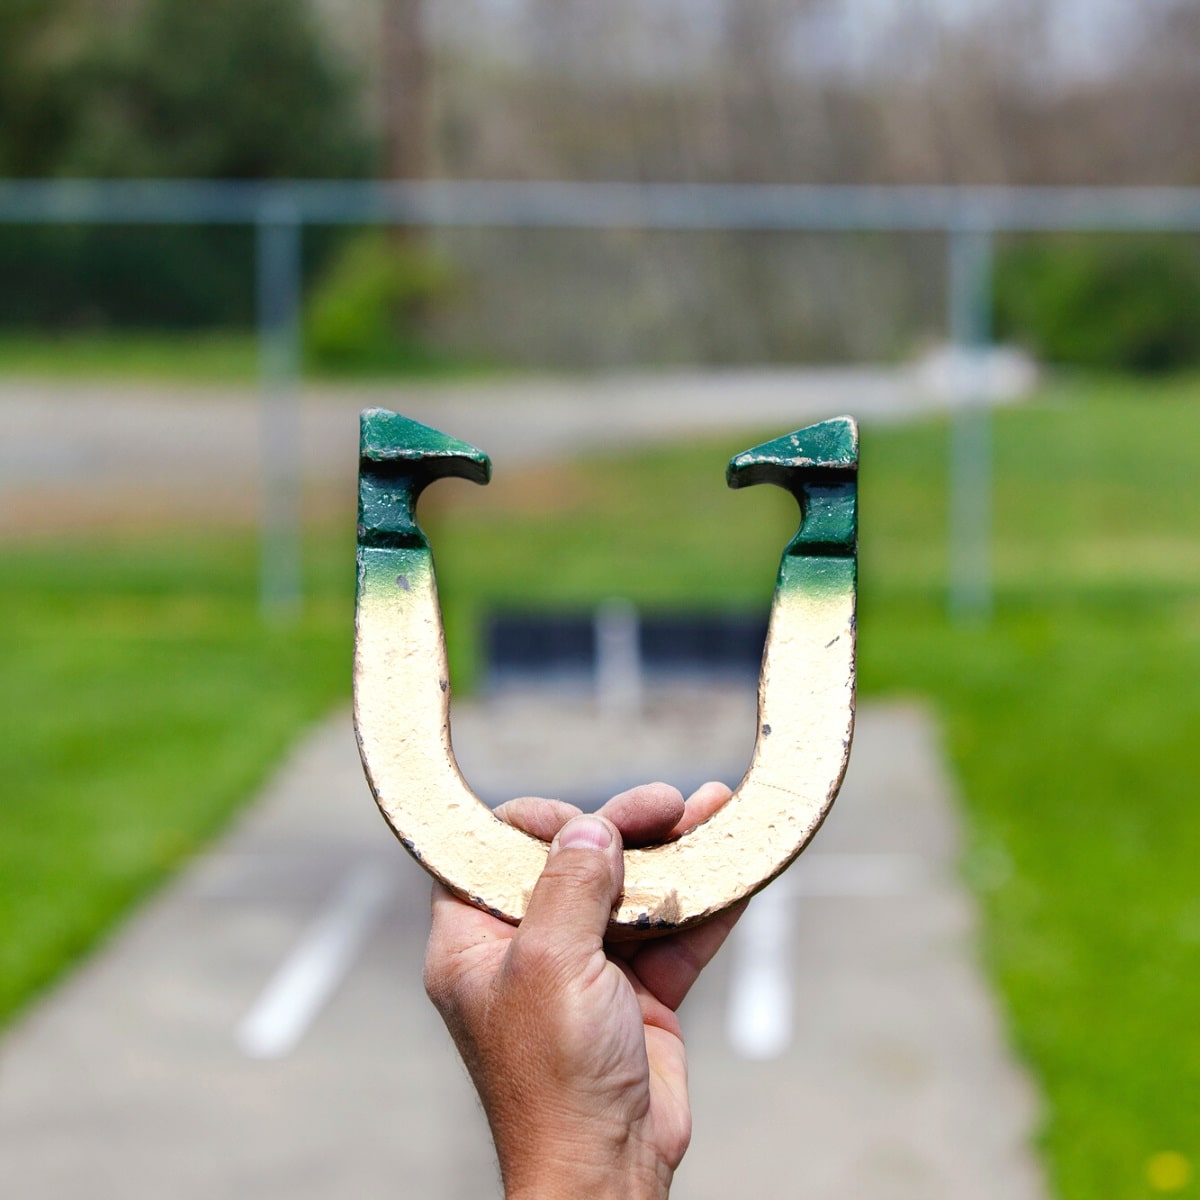
A horseshoe has six parts:
- The base:
The u-shaped section of the shoe. - Shanks:
The straight parts or “arms” of the shoe. - Heel caulks:
The blunt ends on the shanks. - The hook:
The heel caulk’s inner edge that allows it to encircle the stake. - The thumb cleat:
The edge on the base you use for a flip throw. - The edge:
The gripping edge that makes the recreational horseshoe different from a standard horseshoe.
With these parts of the horseshoe in mind, there are typically three different ways to grip a horseshoe:
- The 1 1/4 turn grip
- The 3/4 (or 1 3/4) grip
- The flip grip
Let’s get into it.
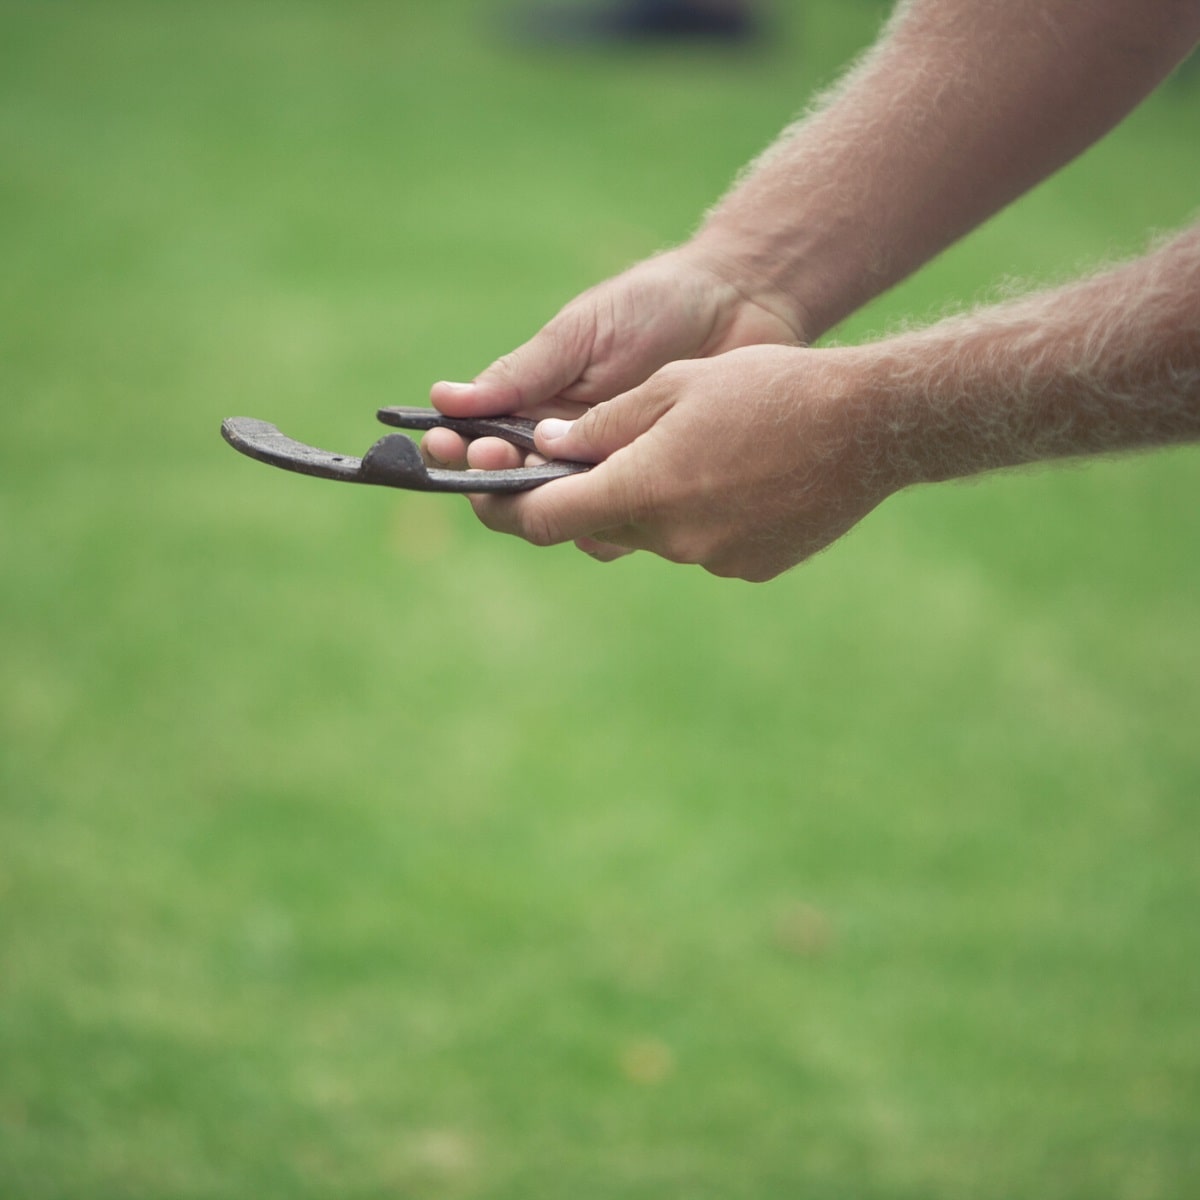
The 1 1/4 Turn Grip
A 1 1/4 turn grip requires you to grip and throw the horseshoe in such a way that it makes a 1 1/4 turn as it sails through the air. Ideally, it will encircle the stake smoothly in a ringer.
Hold the shoe by a shank with both shanks pointing towards your left (or your right if you’re throwing left-handed). Place your thumb flat on the top of the horseshoe and curl your middle, index, and ring fingers underneath while using your pinky for support and stabilization.
This is probably one of the more difficult grips because it demands a high level of attention and precision. It can have neither too much wobble nor too little, requiring a precise arc for accuracy.
The 3/4 (or 1 3/4) Grip
To achieve both a 3/4 turn and a 1 3/4 turn, you hold the shoe with the shanks pointing to the right instead of the left (or to the left instead of the right if you’re left-handed), but the rest of your grip is the same as the 1 1/4 turn grip.
Whereas the 1 1/4 grip causes the shoe to rotate clockwise, this one causes the shoe to rotate counter-clockwise, but the shoe should still encircle the stake in a ringer.
Generally, this grip requires less attention and care than the 1 1/4 turn grip. You can pitch it with a lower arc, and its degree of wobble doesn’t make as much of a difference as the 1 1/4 grip.
The Flip Grip
This is the most common grip, especially for shorter courts.
A flip grip involves holding the shoe with your thumb flat on the top, and your index, ring, and middle fingers underneath and along the edge. Your pinky finger should be on the bottom for support.
This grip’s goal is to throw the horseshoe in a way that it flies horizontally through the air toward the stake, like a Frisbee, and lands around the stake.
2. The Stance
Your stance is as essential as your grip when throwing anything, including horseshoes.
A good stance for horseshoes isn’t complicated. If you’re right-handed, you generally want to stand to the left of the stake, keeping your posture straight but relaxed.
If you’re left-handed, you merely stand to the right of the stake. Nothing else changes.
Place your feet so that one is about six to eight inches behind the other, and keep your weight on that foot. Bend forward slightly from your waist, relax your knees and hips, and shift your weight from your back foot to your front foot as you throw.
3. The Swing
If you’ve ever thrown anything in your life, you might know that there are three parts to the swing:
- Back swing
- Front swing
- Follow through
Your swing includes a back swing, or bringing your arm backward, and then a front swing, which is where you release the shoe.
As you shift your weight from your back foot to your front foot, keep your arm straight and limit movement in your wrist as much as possible to prevent the shoe from wobbling too much as it flies.
Also, make sure you swing so that the shoe will fly in an arc toward the stake. Without that arc, it will fall short.
4. The Throw
Releasing the horseshoe happens very quickly, and as you gain experience and muscle memory, you’ll learn when you’ve released it well and when you haven’t.
In the meantime, pay attention to your grip as you release. If it’s too tight, you’ll start experiencing problems with your hand and wrist. However, if your grip is too loose, the shoe will slip, and you’ll have problems getting a solid throw.
Again, ensure you release it at a point in your swing where it will arc through the air so you don’t fall short of the stake.
5. Follow Through
If you’ve ever gone bowling, been a baseball pitcher, or gone golfing, you know the importance of follow-through. Unfortunately, follow-through is challenging to define, and many people mistake the instant following release for a follow-through.
Think of your swing as a complete circle. After your release, your arm should continue along that circle to just below the top of your head. That’s the follow-through.
Keep in mind that follow-through is hard to remember and work on. When you’re first learning how to throw a horseshoe, concentrate on your grip. You need to get comfortable holding the shoe in your hand before you do anything else.
Then work on your swing and throw, and finally, your follow-through. Soon, you’ll be able to put everything together and build your skill at throwing the shoe smoothly and accurately.
Here is a helpful video with some of these horseshoe pitching techniques visualized to help with understanding: