Last updated: July 18, 2023
A step-by-step guide to cleaning a bounce house in the backyard, from the initial visual inspection to disinfection and drying.
The iconic bounce house. It’s a backyard staple that has created countless memories for children (and adults!) everywhere. But like all magical things in life, bounce houses need a bit of care and attention to keep them sparkling.
So, let’s roll up our sleeves, grab our cleaning supplies, and prepare for a noble quest; cleaning the backyard bounce house.
It’s not as daunting as you might think, and with a bit of elbow grease, we’ll ensure your inflatable kingdom is ready for another season of jubilant jumping and rollicking fun.
Cleaning a Bounce House (5 Steps)
This step-by-step guide to cleaning your inflatable bounce house will make it relatively quick and easy. It starts with a full inspection and removal of lost items or other solid objects, then a dry clean, followed by a thorough wet clean, and then disinfection and drying to complete the process.
Try the following five steps to keep your bouncy castle clean and free of mold, debris, damage, and other unwanted nasties:
- The visual inspection
- The dry clean
- The wet clean
- The disinfection
- The drying
Let’s dive in!
1. The Visual Inspection
While it may be tempting to start cleaning right away to get the job done as soon as possible, it’s crucial to take a step back and start with a thorough visual inspection.
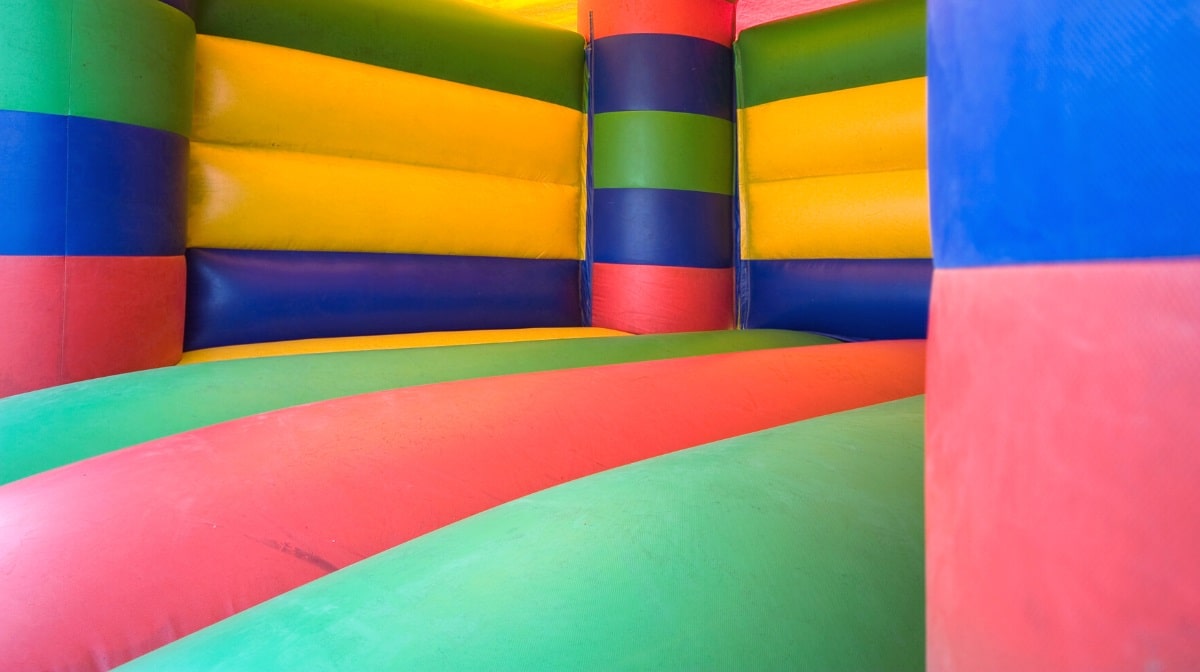
The first important step in the cleaning process is to take the inflatable out into a brightly lit and well-ventilated area. This will allow you to open it up properly to see every nook and cranny in the bounce house easily and quickly.
Once it is opened up and laid out, do a thorough visual inspection. This will give you an idea of the material’s state and assess the level of dirt you’re dealing with. Look for liquid stains, tiny objects like keys, toys, wallets, jewelry, and debris from trees and plants.
A good visual inspection will give you a rough idea of how much work is required to do the cleaning.
If you do encounter damage, read my guide on patching and repairing a bounce house for more practical tips.
2. The Dry Clean
After the visual inspection, walk over the surface of the bounce house, get into the corners on the top and underside, and remove any objects you may find. Keep an eye out for any lost items like car keys, coins, clothing, or toys.
Depending on who has been using the bounce house, you would already have a general idea of the cleaning challenges you would be facing. A toddler’s party will leave a different type of mess than a gathering of older kids.
Once all objects have been removed, you can use a vacuum cleaner to remove dust, dirt, and smaller objects from the bounce house. Don’t forget to vacuum under and into flaps and other accessories like ladders and pools.
Once this stage of the cleaning process is complete, it’s time to move to the wet cleaning stage.
3. The Wet Clean
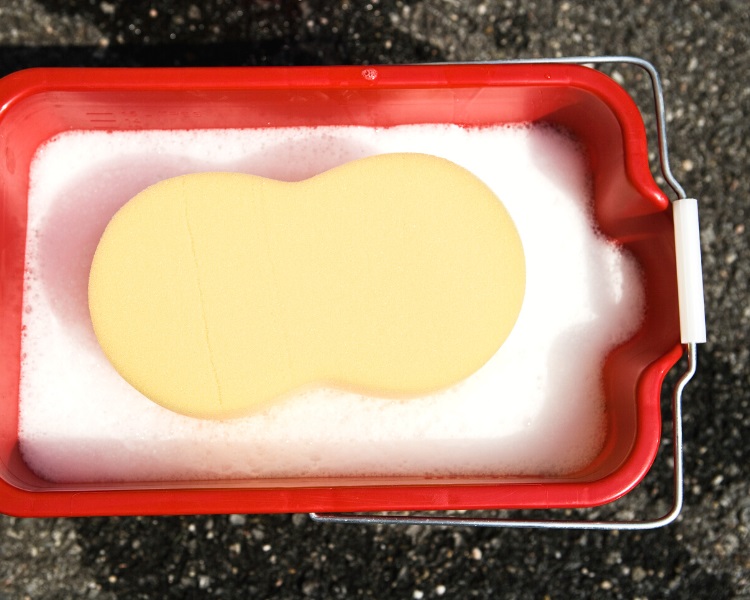
For the wet clean, you can use a manufacturer-recommended cleaner or a DIY version made of water, vinegar, and dish soap. Use three parts water, one part soap, and one part vinegar.
Vinegar is a natural disinfectant and, along with the degreasing properties of the dish soap, provides an excellent combination to remove grease, grime, and stains. Use a soft-bristle brush or sponge to remove any visible surface stains from the house and the accessories.
When cleaning, make sure you get into the little spaces and the rails, edges, and underside of the bounce house. The soft bristle brush shouldn’t damage the vinyl but don’t scrub it too hard.
Once this stage is completed, the bounce house should already look, feel and smell a lot better.
4. The Disinfection
Because most bounce houses are used for kids’ parties, disinfecting the contact surfaces after every use is essential.
To disinfect the bouncy house, you can use everyday cleaners like Lysol. It’s best to avoid using bleach disinfectant as that might damage and discolor the vinyl and other materials.
Mix the disinfectant into a spray bottle according to the manufacturer’s directions. Focus on spraying the sections of the bounce house that are most used, such as the jumping surfaces and walls. Unless the directions explicitly instruct you to rinse off after applying it, let the bounce house dry thoroughly.
You can apply the disinfectant using a cloth to wipe down all the surfaces. You can do this process more than once if you wish, allowing the inflatable to dry between applications.
5. The Drying
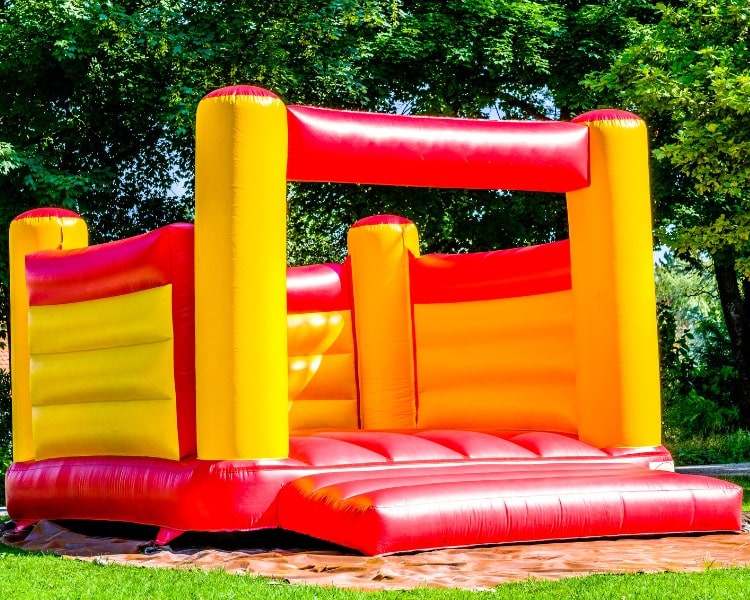
Once you have cleaned and disinfected the bounce house, you can let it dry in the sun. A key point here is that you must ensure every inch of the inflatable is dry before storing or using it again.
If you store an inflatable that still has moisture or wet spots, these can offer bacteria and mold an opportunity to flourish. Depending on your inflatable’s size, type, design, and accessories, you may need to leave it in the sun for a few hours.
Make sure that you give both the top and underside time to dry, which will involve turning the bounce house over to expose each side to the air and sun, and don’t forget to place any accessories out to dry.
Final Thoughts
There you have it, a 5-step process to give your backyard bouncy house a deep clean. Do note though that you don’t have to do all these steps every time the bounce house has been used.
You can also just do a regular inspection followed by a dry clean, which will help prevent damage in the long term. And then occasionally, like once a week or just before the weather gets cold, you can do a deep clean.
If you’re mostly worried about mold or mildew forming, I find that vinegar with water and dish soap works well. So you can use that on the surfaces once in a while, and you don’t always have to deflate the whole thing for a quick cleaning session.
Ready to buy a new bounce house? Read my guide to the best inflatable bounce houses with a list of good-quality, affordable products.