Last updated: June 20, 2023
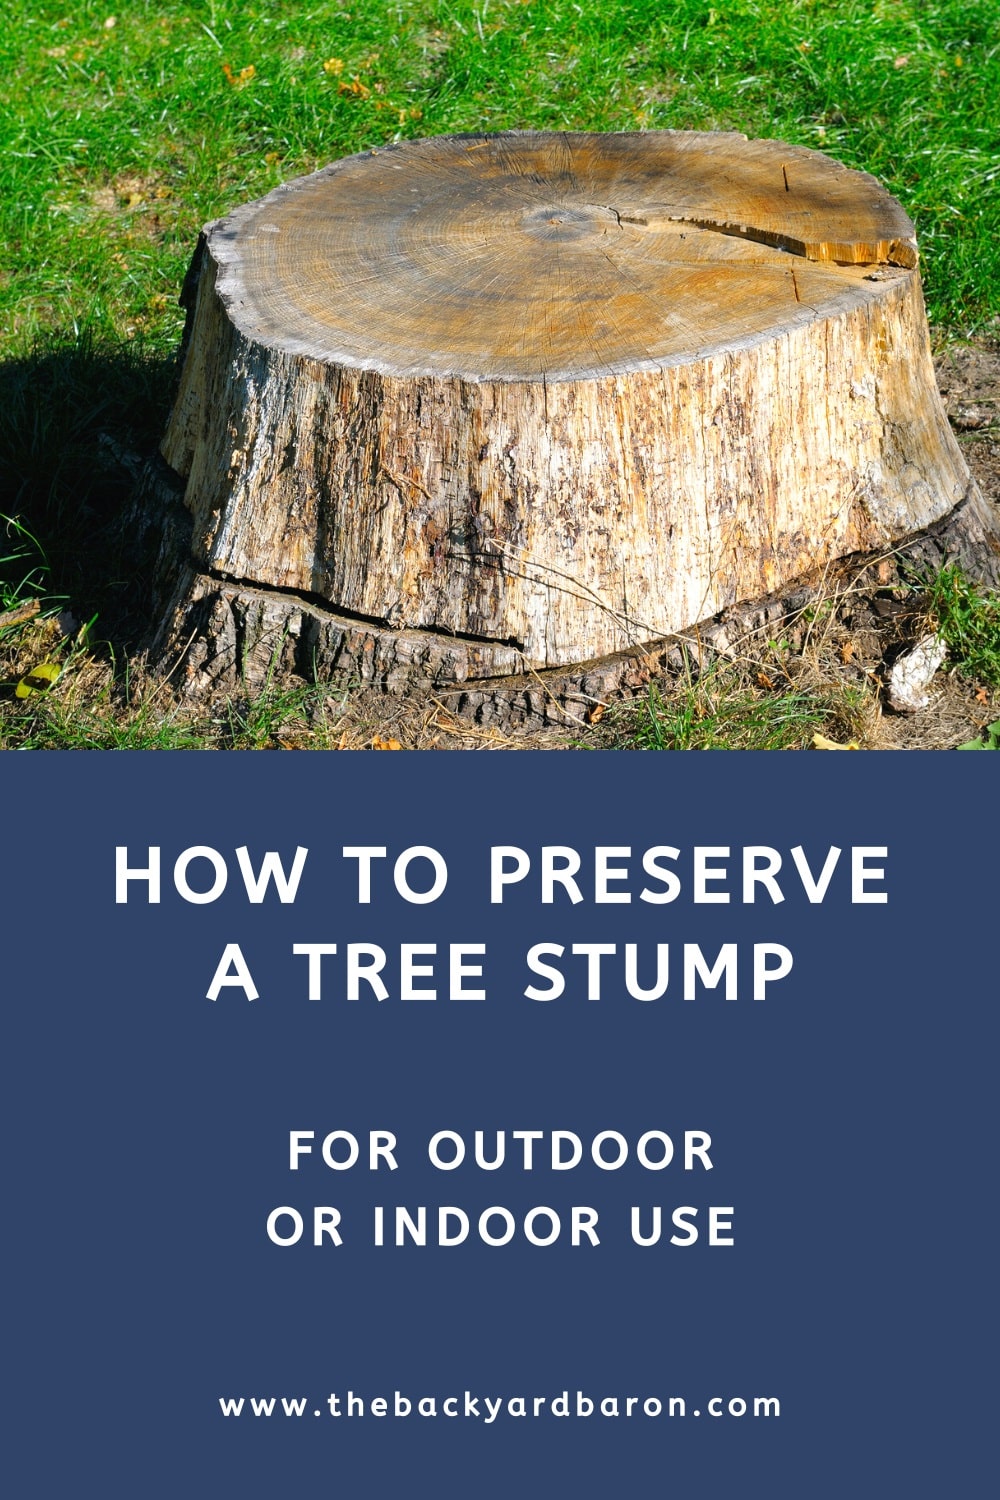
Learn how to preserve a tree stump for outdoor or indoor use in this guide, because old stumps can be repurposed in many different ways.
There are so many things you can do with a tree stump that it may be worth keeping it for future use. But preserving a tree stump is not as easy as it may sound and comes with risks and challenges.
In this article, I will discuss some of the reasons why you would want to keep those stubborn tree leftovers and give them a second life.
I am also going to guide you through the steps of preserving a tree stump for outdoor as well as indoor use.
Quick navigation:
Why Keep a Tree Stump?
Most people decide to keep a tree stump because they simply want to. Perhaps the stump is ingrained in the landscape or just worth repurposing.
But there’s more to a tree stump than what it may seem. When a tree is separated from its roots, the stump is slowly on its way to decaying. Over time, it can become a breeding ground for carpenter ants, termites, and other unwanted critters.
You can leave the stump and let it rot, with the risk that those critters are going to spread to your other plants and trees. You can also remove the stump, grind it down and send it on its way.
Or, you can preserve it.
Why Preserve a Stump?
Using the right tools and with a bit of work, you could have a brand new piece of decoration to display in the yard or in the living room.
With a bit of imagination, anything is possible.

In my opinion, hanging onto the stump can be a fantastic idea.
Preserving a tree stump is an eco-friendly project that results in having a decoration piece or a functional outdoor furniture item that will last for many years to come.
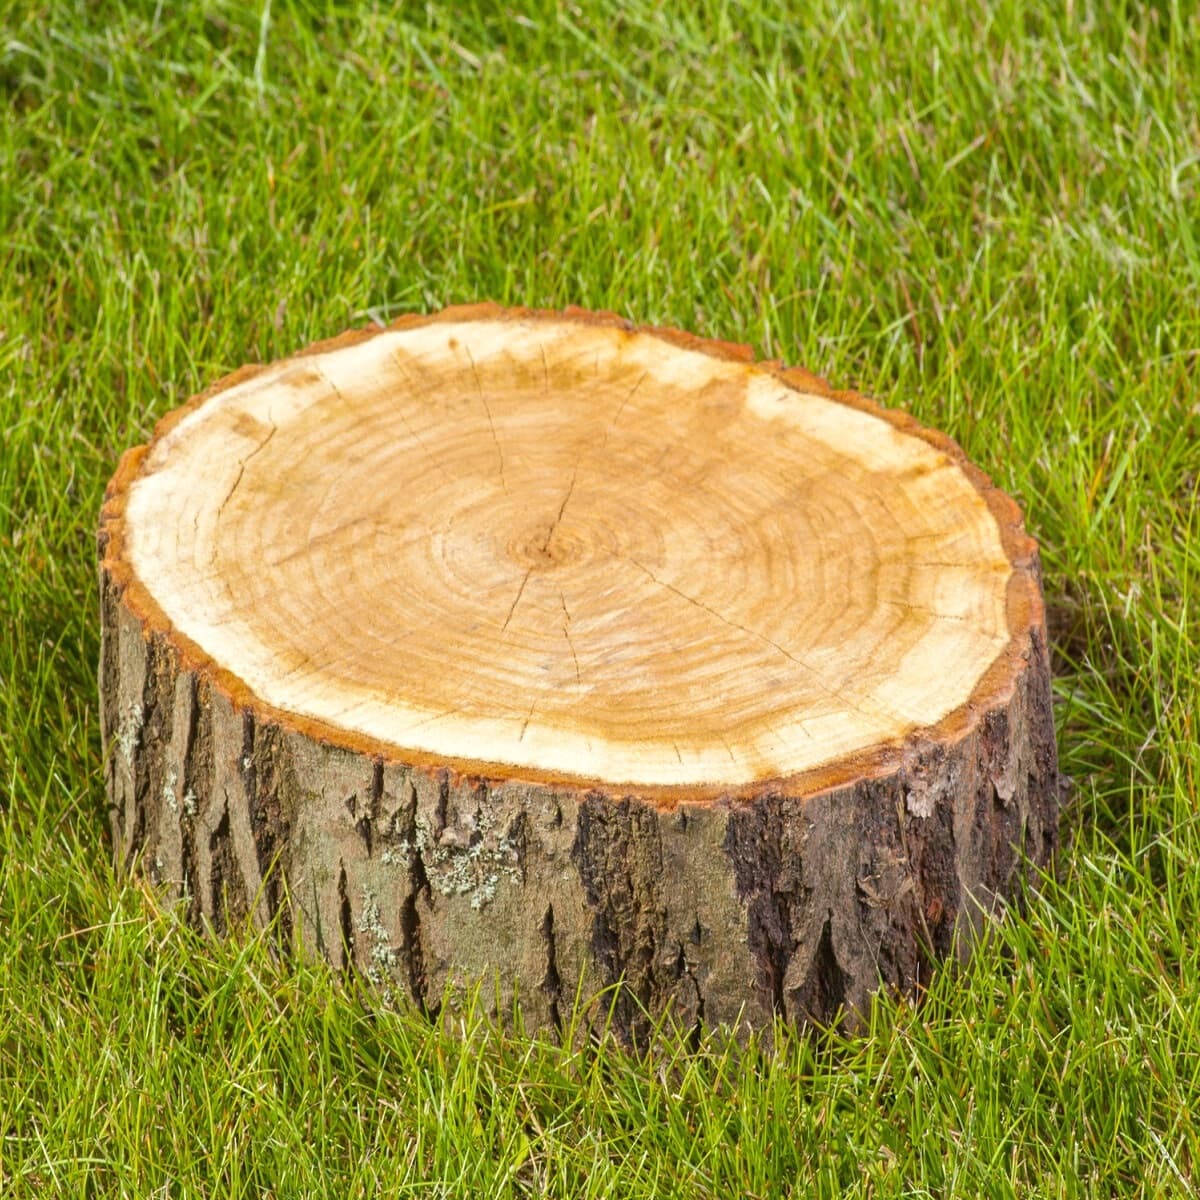
Not All Stumps Should Be Preserved
Wood dies slowly. It decays and breaks apart. When preserving a stump, you want a high grade of wood. We’re talking oak, redwood, western red cedar, or similar wood types.
These types of wood are suitable for preservation projects because of their strength and durability.
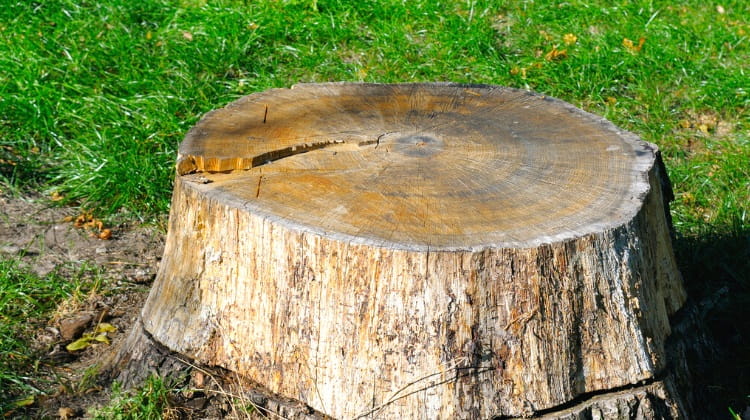
Preserving a Tree Stump for Outdoor Use
If you’re not interested in uprooting the stump, there are still many ways to repurpose it. Modify a leftover log into a garden container or play table for the kids or just make it part of your patio seating area.
The best way to preserve wood outdoors is to seal the surface. Sealing is an excellent alternative to digging the stump up or burning the stump.
Let’s take a look at the process.
1. Collect Your Gear
The first step is to put together what you’ll need to preserve the tree stump.
Here’s the list of gear:
- Various cloths
- Sandpaper (at least 81 grit)
- Polyurethane wood sealant
- Gloves
2. Clean the Surface
Put on your gloves. Examine the surface of the stump carefully. If you spot lingering lumps or bark, remove them. You want to get as smooth a surface as possible without killing the rugged, outdoorsy appearance.
After that, go over the surface with a clean, damp cloth to remove debris and other dirt.
3. Sanding
This is an optional step. It’s only necessary if you want a smoother surface. The process will also simplify the seal.
Get your high-grit sandpaper and start buffing the surface. The surface needs to feel even and smooth to the touch.
Once you’ve finished this, get a damp, clean washcloth, and wipe down the surface.
4. Apply a Wood Sealant
This is the most important step.
Take your brush and apply two or three coats of the polyurethane wood sealant along the stump’s surface. After you’ve done this, wait a couple of days for the sealant to dry completely.
Your stump is now preserved and ready for whatever repurposing you have in mind for it. The stump will add character to your outdoor space. You can use it as a natural chair, a table, or a general decor item.
Alternatively, you could also hollow the stump out to create a planter.

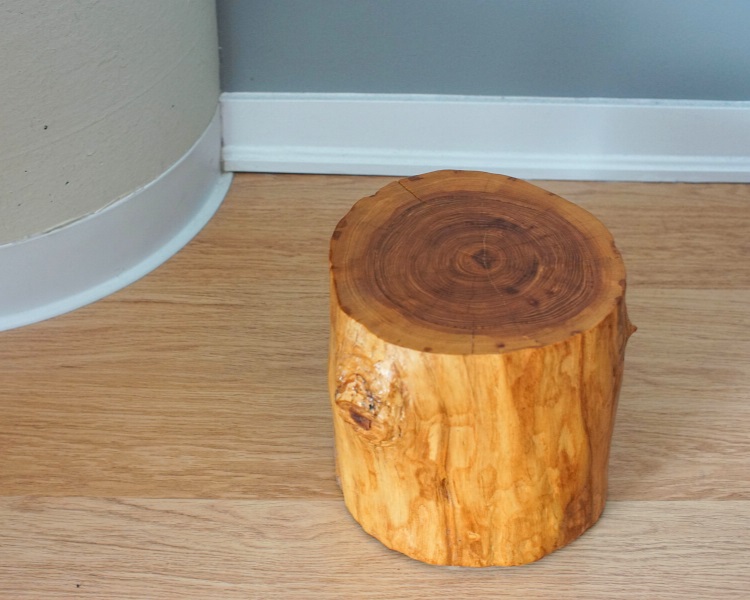
Preserving a Tree Stump for Indoor Use
If you’re planning to use the stump indoors, you’re going to have to remove it from the ground and then saw off all portions you don’t want to use.
Depending on the stump’s thickness, leave it outside for a while to ensure it completely dries out. It’s best to leave the stump in a shed or garage, as the elements can keep it unnecessarily moist.
Let’s go through the steps in more detail.
1. Collect Your Gear
This is, unsurprisingly, a more extensive project than the previous one. You will need more time and perhaps even a helping hand.
Here’s the list of gear:
- Various pieces of cloth
- Rotary hammer (optional)
- Planer
- Electric sander
- Gloves
- Sandpaper (at least 80 grit)
- Wood filler
- Wood stabilizer
- Gorilla tape
- Plastic sheet or tarp
- Ties
- Finishing gloss spray
2. Remove Stump From Ground
You can find plenty of videos and blogs about removing tree stumps. Go ahead and give them a look to get an idea of what to expect.
I have also created a guide explaining how to remove a tree stump without using a grinder, which you may find helpful to have a read through.
When a stump has been removed from the ground, you have to remove the root structure as well. It’s an arduous process, and you may want to call in the professionals for this chore.
Also take note that as long as any part of the tree is in the ground, there is the possibility of fungi and pest infestation. Read up on tree care and apply the principles to the stump.
3. Begin Treatment
Clean the stump thoroughly with a wet cloth. Clear debris as best you can. Rub with the grain in circular, gentle motions. Do this with the top and bottom of the stump.
Do not use the cloth for wiping the bark. You might make the bark fall off or flake. If there are any flaking pieces on the stump, mainly the bark, gently pull them off. Remove any bugs, twigs, and leaves.
Depending on your plan, you might want to remove the bark altogether. Two conditions make this a safe move. One, the bark doesn’t seem too dry. Two, there’s no black ring between the wood and the bark.
To remove the bark, use a rotary hammer. Slide the hammer from top to bottom. The bark should come off with no trouble. Now you’ll have a pleasant wood appearance. The bark gives the stump a rustic look. Removing it now requires sanding the stump.
4. Smooth It Out
Take out your planer. This is a flat-head power tool used to even surfaces. Use the planer on the stump’s top and bottom perimeters. Do this until the edges are smooth to the touch. After smoothing, get rid of any debris.
If you’re not already wearing gloves, put them on. Get your sandpaper. Rub the stump’s top in circular motions to remove the top layer. You want the grain level. Do the same to the bottom. If you removed the bark, sand the sides and smooth them out.
Finish the sanding with your electric sander, but only if the finish is rough or dirty. You want to remove layers until you have a fresh, clean look. Watch for rings at the top and bottom. That’s the signal of fresh wood coming up.
Once you have your desired finish, wipe the stump down with a lint-free, damp piece of cloth.
5. Use Wood Filler
If you see deep or large cracks, it’s okay. But if you want to get rid of them, use the wood filler. Hope you’re still wearing those gloves!
Tape up areas around the sides and bottom below the cracks, then drizzle the filler into the cracks. Let the stump be overnight to ensure thorough drying.
6. Use Wood Stabilizer
Your wood stabilizer, available online or at a hardware store, prevents cracking, warping, or checking. Use a small amount at first, roughly half a cup.
Rub the compound into the top of the wood with a dry, clean cloth. Using circular motions, rub the stabilizer into the grain. You may need to add more of the chemical as the wood will quickly absorb the compound.
Tie a plastic sheet or tarp to cover the surface. Leave the stump for a few hours so that the stabilizer dries well. Once it has, repeat the entire stabilizing process with the bottom of the stump.
After the second drying process, you can apply up to two coats of stabilizer to the stump, always letting the top and bottom dry for two to four hours each.
The last thing we want is to prevent wood and bark from falling off the sides. We’re going to seal it with a clear finishing gloss spray, applying it to the entire stump. Put the stump in a dry spot (shed or garage) and leave it overnight to dry.
Final Thoughts
And you’re done! I hope the above guide answers all your questions about preserving a tree stump.
Whether you set up the stump in the lounge room as a checkers table or leave it outside as a natural decoration piece, you’re going to feel grateful and proud for giving that tree stump a second life instead of destroying it.
Personally, I consider a preserved tree stump a great backyard landscaping idea with plenty of design options. Also check out my list of garden tree stump ideas for more inspiration to decorate the yard.
Would have been nice if you suggested a wood stabilizer. Doing a search for wood stabilizers comes up with all kinds of stuff that does not apply, so not sure what I am looking for.