Last updated: July 19, 2023
A detailed guide with three methods to remove a tree stump without using a grinder: manually, with chemicals, or by burning it.
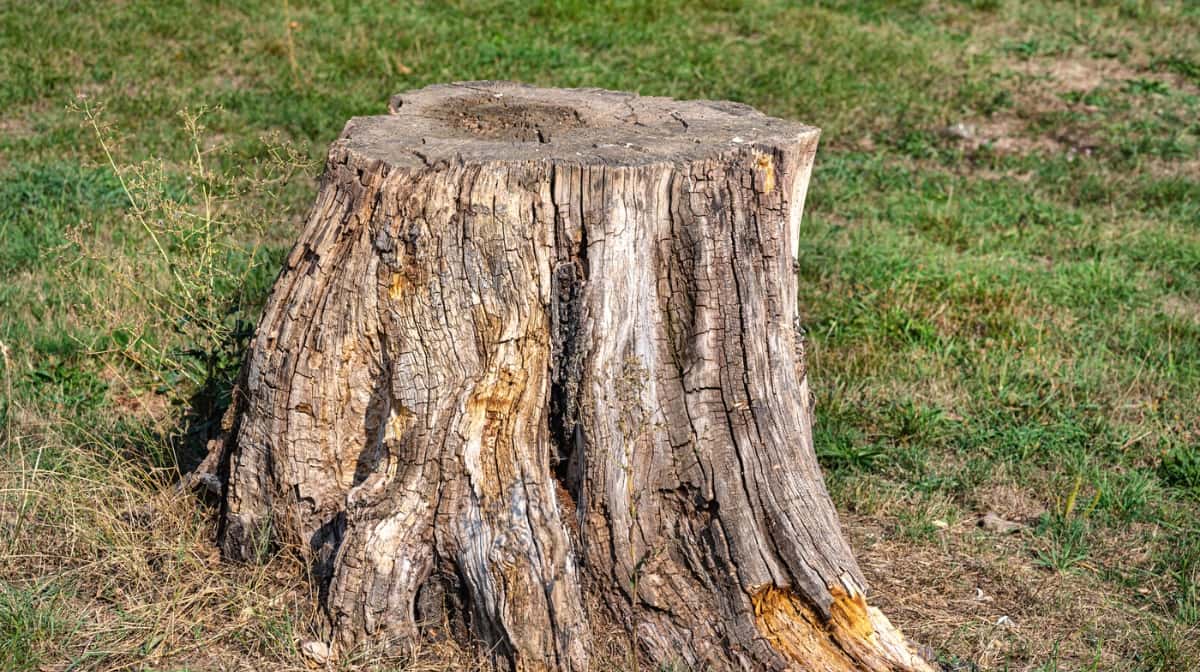
Felling a tree can be difficult work in and of itself, but the real challenge often comes with trying to remove the stump. Tree stump grinders are efficient and practical machines but also expensive.
The good news is that you can get rid of a tree stump without using a grinder. This can typically be done in three ways: manually, chemically, and by burning.
In this article, we are going to explore these three options in more detail.
Quick navigation:
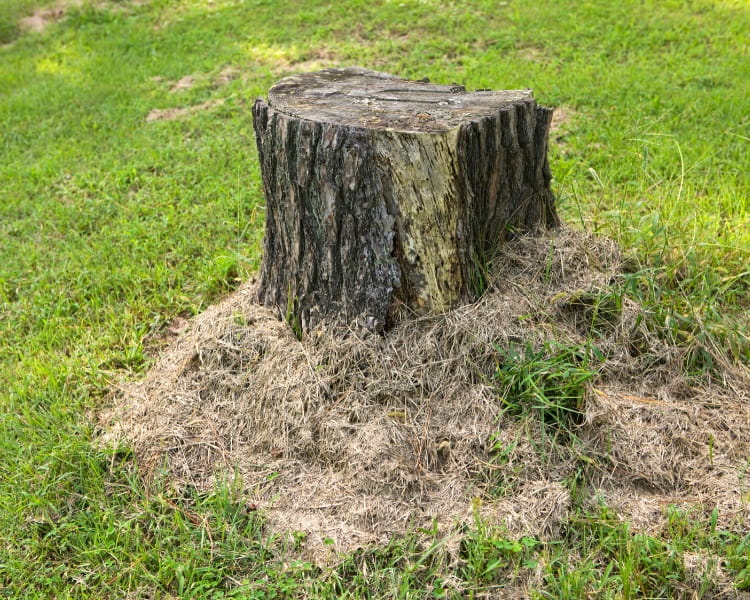
Removing a Tree Stump Manually
There are a handful of ways to remove a tree stump manually, or at least with more common gear than a grinder.
These two ways are recommended:
- Using a saw, shovel, chain and truck
- Using a drill, water, nature and time
1. Using a Saw, Shovel, Chain and Truck
At this point, you’ve probably already used a chainsaw or ax to cut down the bulk of the tree. This method can be time-consuming, but you probably have these tools on hand.
1.1. Cut the Tree to an Appropriate Height
Leave enough of the tree attached to the stump so that you will be able to employ leverage for this method. A foot and a half should do, especially if the tree wasn’t very big.
1.2. Remove as Much Dirt as Possible
Use a shovel to dig up the dirt around the roots as much as possible. A pickaxe is also handy for expediting this process, as it can break down large, tough patches of dirt and rock. Breaking down the earth and removing it can be hard work, but you want to prep the stump for removal as much as possible.
If it’s a smaller tree, it’s not impossible to dig up enough dirt and eventually knock the stump loose by shaking and kicking it. The leverage I mentioned above comes in handy for this method, but it’s still difficult to remove a stump this way. This method generally only works for small trees.
1.3. Connect the Stump to a Truck Using a Chain
Once you’ve exposed the primary roots and already formed a partial crater where the tree sits, it’s time to pull out a chain. A stainless steel chain that’s grade 30 will do, or something similar.
Attach the chain to your truck and then wrap it securely around the trunk (this is why the trunk still needs some height; otherwise, you’ll have nothing to wrap the chain around). Use the truck to slowly but firmly pull on the stump. Then back up and drive forward with enough strength to yank at the stump without hurting the truck.
Eventually, the stump should loosen enough that a good pull will force it to yield. Make sure anyone nearby is standing at a safe distance so they don’t get hit by debris or the stump itself.
2. Using a Drill, Water, Nature and Time
If you have the patience and an area that hits freezing temperatures over winter, this method helps break down the stump and makes removing it much easier.
2.1. Attach an Auger Bit to a Drill
If you’re unfamiliar, an auger bit is a common bit for a drill capable of boring into wood more than 30 inches deep. In this scenario, the necessary length of the auger bit depends on the tree stump’s depth.
Unlike the previous method, this approach is better if you cut the tree further down, as you do not need to worry about maintaining the trunk for leverage.
Using the auger bit, drill holes into the top surface of the stump. How many holes you need to drill depends on the largeness of the stump’s surface. You should evenly distribute them from each other and the perimeter of the stump.
2.2. Fill the Holes with Water
While the tree’s continuous flooding will eventually cause the stump to rot and disintegrate on its own, this method helps break the tree apart. However, it requires some timing and, as mentioned before, a guarantee of freezing weather.
After the stump’s drill holes contain water to the brim, allow the water to freeze. Once the water freezes, the expanded ice will put pressure on the stump’s interior and ideally cause it to split.
2.3. Dig Out the Broken Stump
Once the stump splits from the frozen water (this may take a few times), you’re left with a stump that’s in pieces, or at least on its way to being so. It’s much easier to take a shovel or ax to it and extract the remaining parts in this condition.
Alternatively, water’s continuous presence in the stump will still help it rot, even without the ice providing additional pressure. As the stump decomposes, it becomes easier to dismantle and remove.
This is not a speedy method but can ultimately be one of the least labor-intensive ones.
Removing a Tree Stump With Chemicals
If you’d rather spend less time hacking away at a tree stump and want something quicker than water and ice, then chemicals may be your best bet.
You can use various chemicals for this purpose, and not all of them are harmful to other plant life:
- Potassium nitrate
- Epsom salt
- Copper sulfate
- Triclopyr
1. Potassium Nitrate
Similar to prepping the stump for just water, the tree must be drilled with an auger bit to form several holes. Instead of just putting water in the holes, you’ll first put in a liberal amount of potassium nitrate. Then fill the holes with water.
Using potassium nitrate still takes time, even if it’s a lesser amount. After a month or so, the stump will begin disintegrating. The consistency will turn soft and spongy, allowing you to remove the remains easily.
Entirely removing the stump may take some time and a few applications. Gradually picking at and working the stump away takes some effort, but not nearly as much as having to dig and chop the whole thing up by hand.
Potassium nitrate’s benefit is that it doesn’t pose much of a threat to other vegetation in the area. It’s also odorless, which many chemical solutions are not.
2. Epsom Salt
Epsom salt is another chemical method to remove a stump. Again, it starts with drilling holes into the stump. But this time, they should be an inch in diameter.
You’ll then want to fill them mostly with Epsom salt, adding only a small amount of additional water to moisten the salt. Be careful not to overflow the holes.
Epsom salt contains sulfur and magnesium, which are beneficial to plants. The hydrated magnesium sulfate makeup of Epsom salt can aid flowers’ blooms and overall green growth. However, like many things, Epsom salt can be harmful in excess. The excessive usage of it is what causes the tree stump to die eventually.
This process requires repetition every three weeks until the last signs of life have faded. The stump can then be hacked with an ax or saw and removed.
3. Copper Sulfate
While potassium nitrate and Epsom salt are generally safe around other vegetation and won’t kill off everything it touches, copper sulfate will.
It’s very effective and will certainly disintegrate the stump thoroughly. But you must practice extreme care with it. Please keep it away from animals and children, and don’t let it near any plants you want to keep alive.
4. Using Triclopyr
Like copper sulfate, triclopyr is a powerful herbicide that will get the job done. But, also like copper sulfate, it can be dangerous in some instances and must be handled with care. It will kill off any plants it touches, so keep it away from any vegetation you want around.
It’s also toxic to various fowls and freshwater fish that may fall victim to runoff containing the chemical. Since triclopyr is a chemical, it will flow easily through yards, down roads, and into rivers and lakes. Be cautious when using such solutions.
Removing a Tree Stump by Burning
If chemicals aren’t your preferred route, there are a couple of ways to remove stumps by burning them. They require a space where you can safely light a fire, but they are an effective approach to removing unwanted stumps.
Check out my full guide explaining how to burn a tree stump for the exact steps and tools needed.
Step 1: Clear the Space Surrounding the Stump
First, you need to prep the area and the stump. Remove any flammable debris, which usually consists of leaves and twigs. It’s best to have a bucket of water or a working hose nearby, as you don’t want your controlled burn to get out of hand.
Step 2: Drill Holes into the Stump
Using a drill bit that can produce 1-inch holes, make several holes in the stump. Go around the top, drilling down to the roots. Then, go along the sides of the stump and create holes about three-to-four inches apart.
The stump should resemble a woody Swiss cheese, preferably with the holes connecting as much as possible to promote airflow.
Step 3: Fill the Holes with Flammable Liquid or Substance
Dissolved potassium nitrate can aid the burning process. Put some potassium nitrate in the holes, fill the holes with hot water, and dissolve. After it’s dried out, the stump will be more flammable.
Another substance you can use is kerosene oil or diesel, either of which is your best bet. Pour either of these liquids into the holes and let it soak for an hour or so. In this case, it’s better to use too little than too much.
You should not use gasoline. Although it burns easily, it is far too flammable and even explosive. Again, do not use gasoline. It is not worth the risk. While kerosene oil and diesel must be handled carefully, they do not burn as quickly as gasoline and are a little safer.
You should also check your local laws or contact your local fire department to make sure you don’t need a permit to burn with either of these substances. Since they are risky, some areas do not allow you to use them at all. Always check your area’s laws before proceeding, and be cautious.

Step 4: Build a Fire
With the stump properly prepared, now it’s time to build a fire similar to how you would make a campfire. Gather some solid sticks and form a teepee with the stump underneath them at the center.
Now it’s time to light the stump. It’s important to remember that utilizing flammable substances like kerosene or diesel is always a bit more dangerous. Try to light a long branch on fire and then light the sticks and stump that way.
Please stand clear of the area until it settles into a regular fire.
Step 5: Keep It Burning Until the Stump Is Gone
Now that the fire is lit, you must keep it going long enough for the stump to burn entirely away. Keep feeding it sticks and medium-sized logs and watch its progress.
Depending on the stump’s size, it may take up to 24 hours for the entire stump to burn. It’s important to always be in the vicinity of the fire so that you can regularly check to make sure it’s still under control.
Step 6: Clean Up
After the stump has burned and the fire has gone out, it’s time to clean up.
Check for any remaining hot spots. Even if you don’t actively see smoke rising from the pile, you may find hot areas concealed underneath if you turn the debris over. So don’t stick your hands in the pile, even with gloves.
Rake up the remaining burnt pieces of wood in the area. Some errant roots may remain, so poke through the area with a shovel and make sure they’re all removed.
You may want to get some extra soil to fill in the hole, depending on what you want to do with your newly-cleared bit of land.
Final Thoughts
Tree stump grinders are helpful, but they’re not always available. With the above methods, you can still embark on your projects without having to worry about the eyesore of a leftover tree stump.
These methods might be more time-consuming but are typically more affordable and still get the job done.
If you’d like to repurpose a tree stump instead of removing and throwing it away, be sure to read my guide to preserving a tree stump to learn more about how to accomplish this.
Also read my guide with ideas to repurpose tree stumps to enhance the design of your backyard. Lastly, if you’re thinking of killing a tree “quietly”, check out my guide to killing a tree without cutting it down with some practical tips.
